
Preparing to install RiCoder on Windows 10/11
To connect RiCoder to the RiCloud cloud service, an authorization key (\*.json file) is required. Contact your manager or customer support to register in the RiCloud registry and receive an authorization key via the email specified during registration.
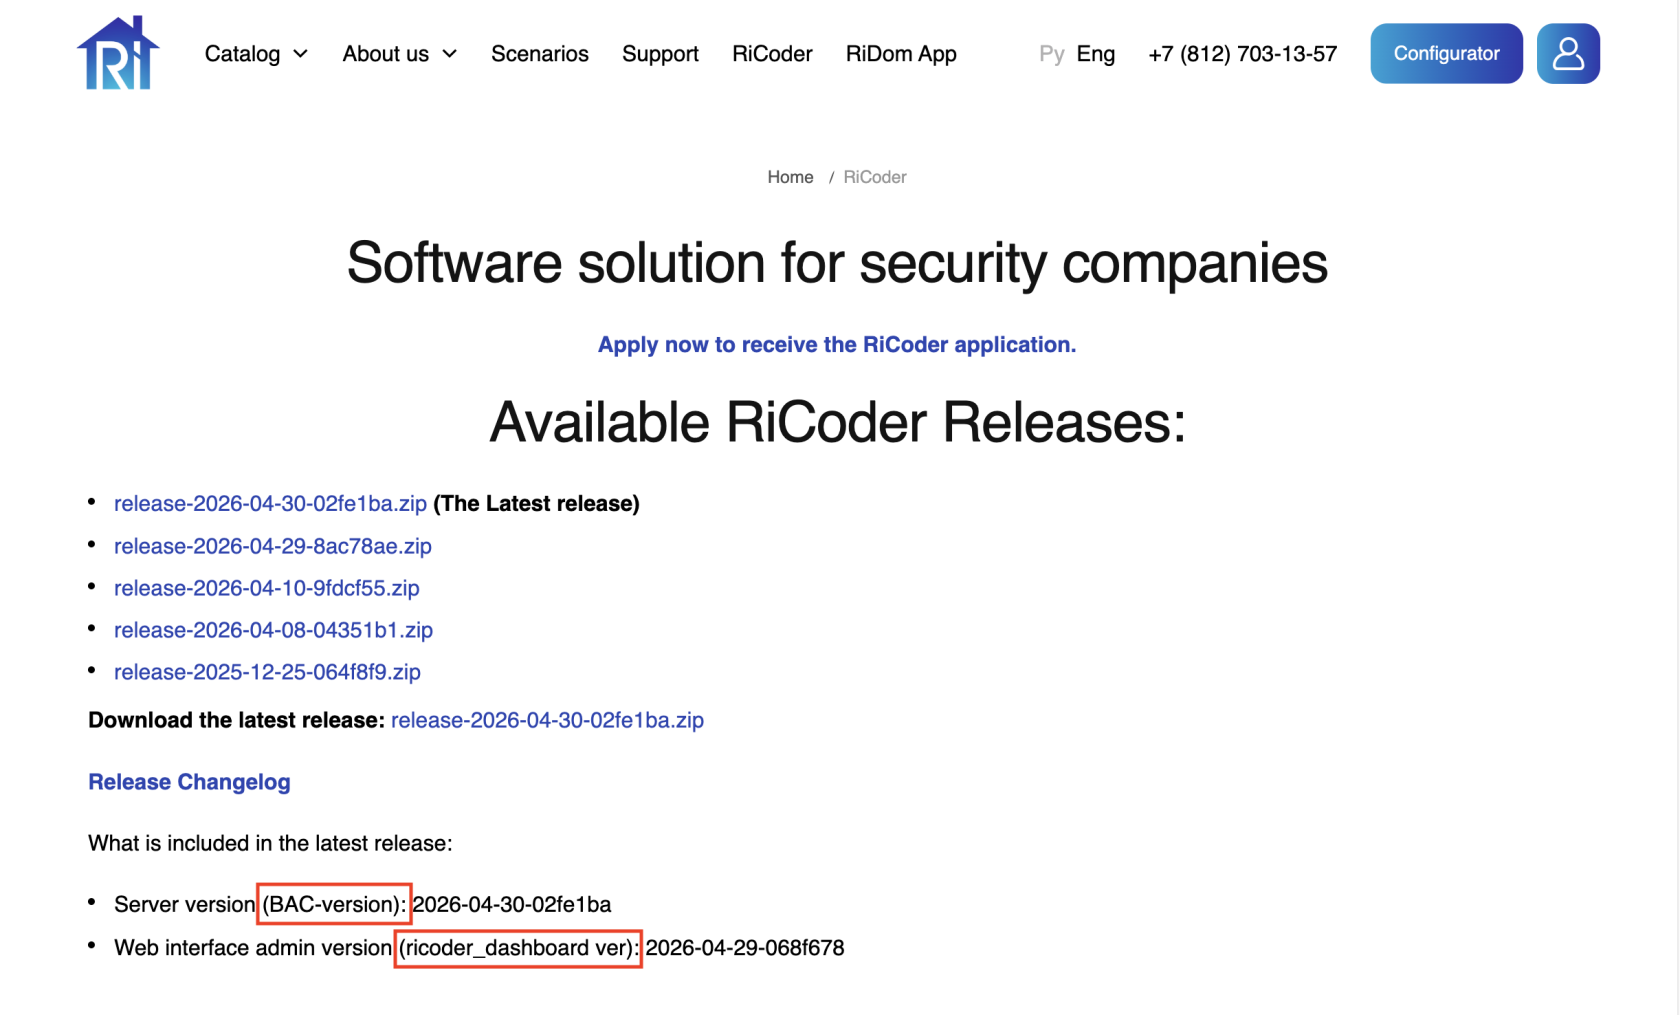
1. Download the current release of RiCoder from the official site ridom.ru.
Software page screen RiCoder

2. Extract the downloaded archive .zip to the desired folder. By default, the archive is downloaded to the folder Downloads C:\Users\<Your_Username>\Downloads.
4. Open a terminal, navigate to the /CHOP_DEPLOY/ directory, and enter the following command:
cat authorized_key.json | docker login --username json_key --password-stdin cr.yandexThis command should be run only once during the initial launch of RiCoder. It is required to properly download the RiCoder containers from the repository.
5. Place the OAuth token for access to Yandex.Disk in the folder /CHOP_DEPLOY/. The token is required to organize a RiCoder backup. Read more about obtaining a token in the section Obtaining an access token for Yandex.Disk.
6. Prepare information about the RiCoder interface (BAC-version) and server (ricoder_dashboard ver) versions for the installation wizard. More information about version numbers in the section Frequently asked questions.
RiCoder software page screen
6. Make sure Docker is running. More information about checking the launch of Docker Desktop in OS Windows and in OS Linux.
7. Run the file launcher_windows.exe.
8. Follow the instructions in the section Working with the RiCoder installation wizard.
Update date: 05.21.2026
Нет комментариев для отображения
Нет комментариев для отображения